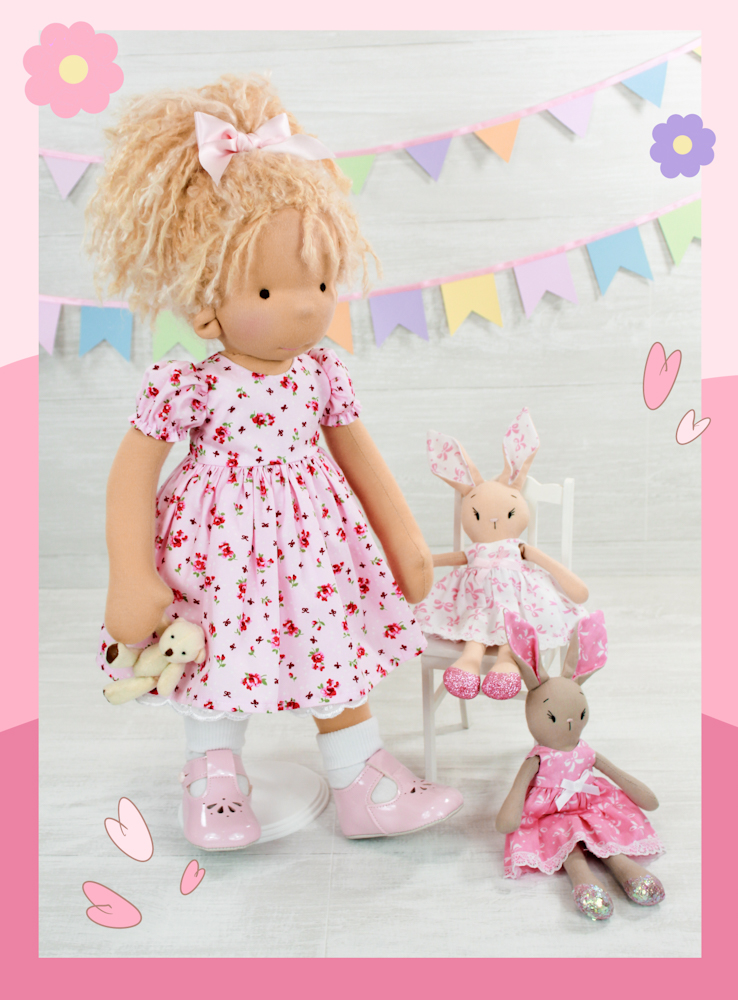
Let’s make a lovely Polly Dolly together … one stitch at a time
Here you can access all my video tutorials on how to make the perfect little Dolly Doo Dah! So sit back, relax and enjoy……
Introduction
Hi there! I’m Sherrill, the creator of Polly Dolly Doo Dah.Let me introduce you to Ruby, she’s the star of the show and you’ll see her come to life as you watch all the proceeding 13 video tutorials on how to craft your very own Polly Dolly.
PLEASE NOTE: In the video I talk about a ‘Members Area’, this is not the case now as all my video tutorials are available to view by everyone 🙂
Making Your Dolly
You’ve come to the right place to find all the tutorials on how to make the most perfect little Polly, Ollie or Baby Molly Dolly Doo Dah. I’ve put together 13 full length step-by-step videos showing you how to make the dolly’s head and body and the outfit.
Fast Track Edition
If you’ve already made a Polly and need a refresher when making your next dolly, then these 10 Fast Track tutorials will enable you to dip in and out as you please. Each of the videos are a shortened length covering the essentials on how to construct your Polly Dolly.
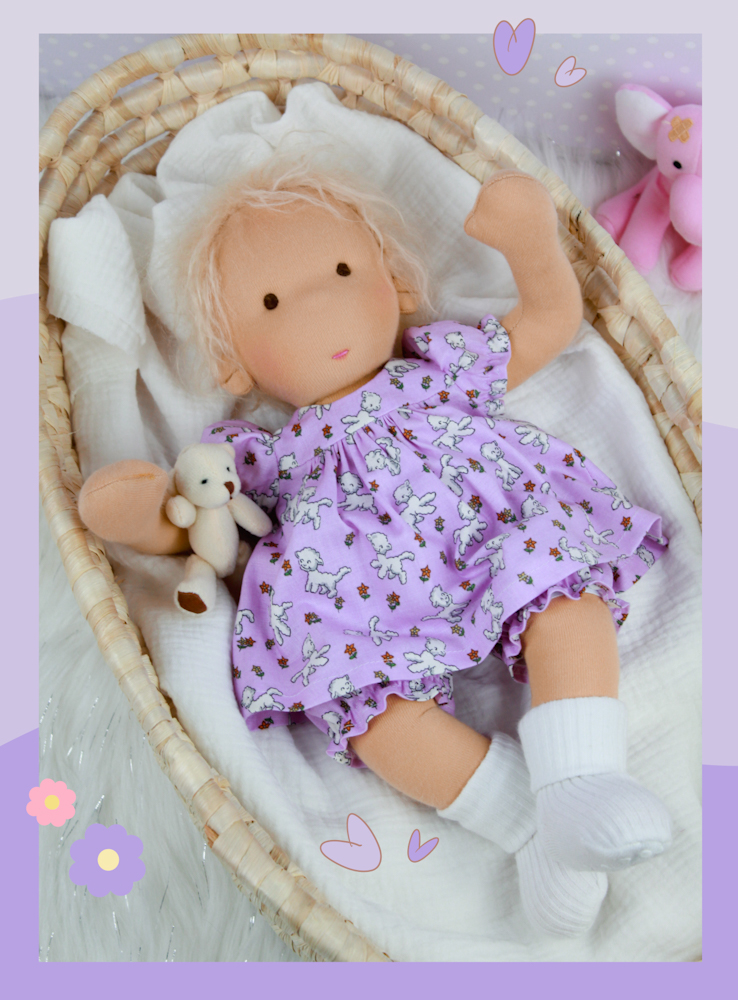
Baby Molly Dolly
Here you’ll find details on the specifics for making Baby Molly Dolly.
If you need more input on how to do her hair then I have the perfect little video for you.
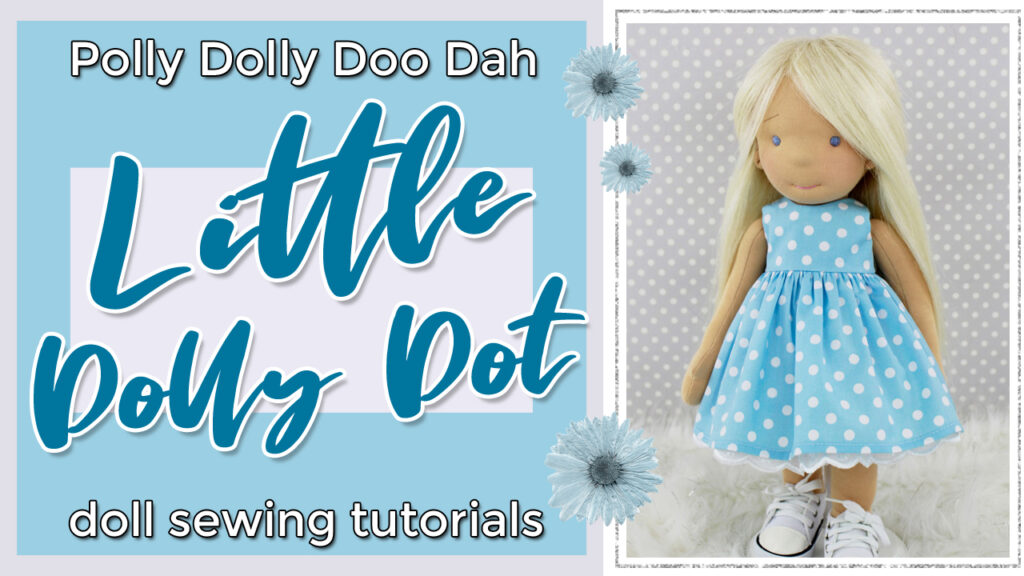
Little Dolly Dot
Our oh so cute Little Dolly Dot.
See all the items that are included in our complete sewing kit along with how to attach her mohair weft and also her looped mohair.
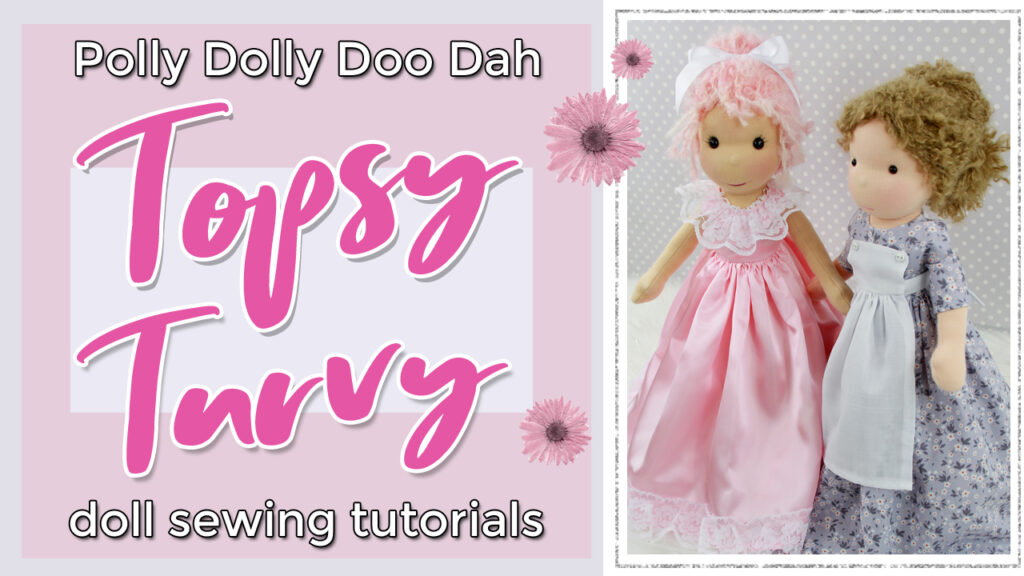
Topsy Turvy Dolly
This dolly is one of those timeless classics that every child would just love to have in their toybox.
This is a complete tutorial on how to make the double-ended dolly along with the 2 outfits for Princess Polly and the Parlour Maid.
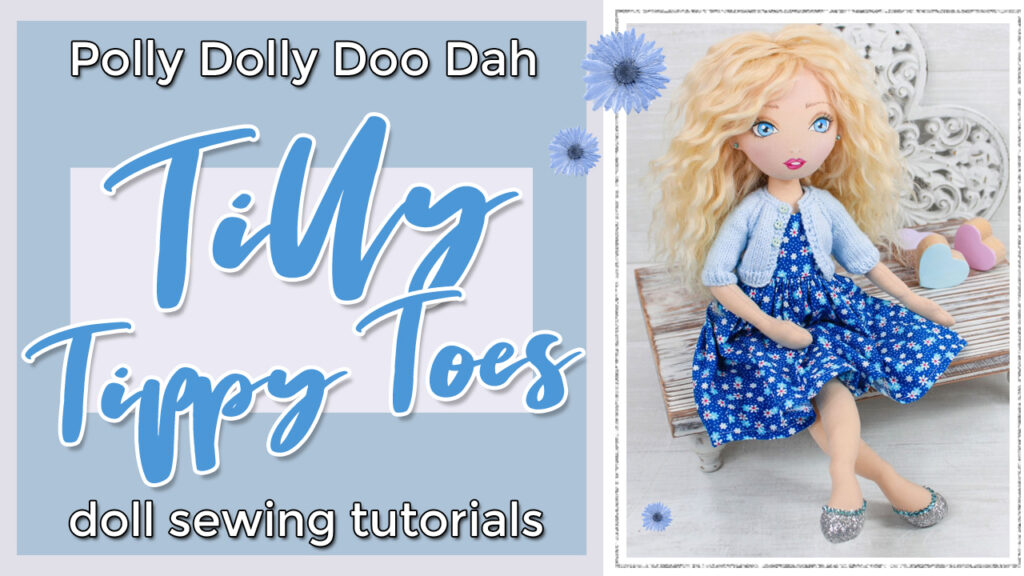
Tilly Tippy Toes
My brand new dolly is here!
Here you’ll find all the videos you need on how to help you create this lovely little lady, including how to paint her face.
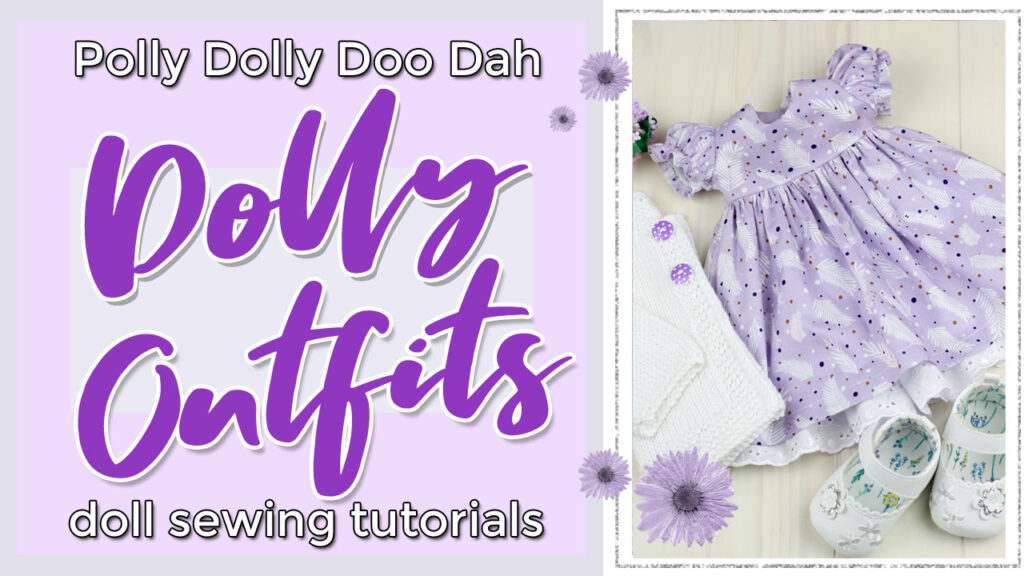
Dolly Outfits
Here you’ll find the video tutorials on how to make some of your dolly’s outfits.
This section will be updated as and when new tutorials are launched. Please do check back.
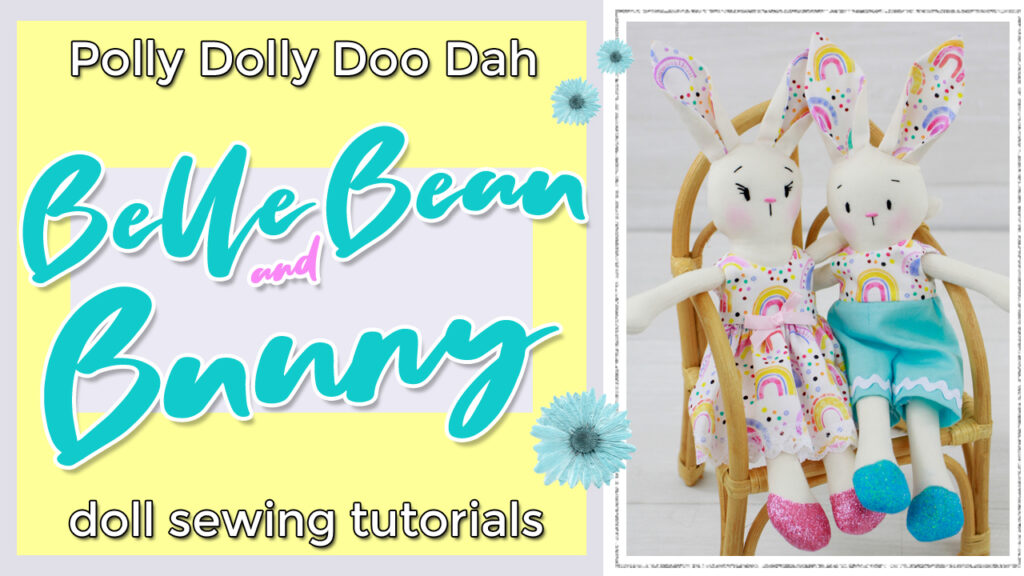
Belle & Beau Bunny
Polly needs her very special own little toy, and in this video you’ll see me make her two companions Belle and Beau Bunny.
The demonstration also includes how to stitch her face and make the girl and boy outfits.
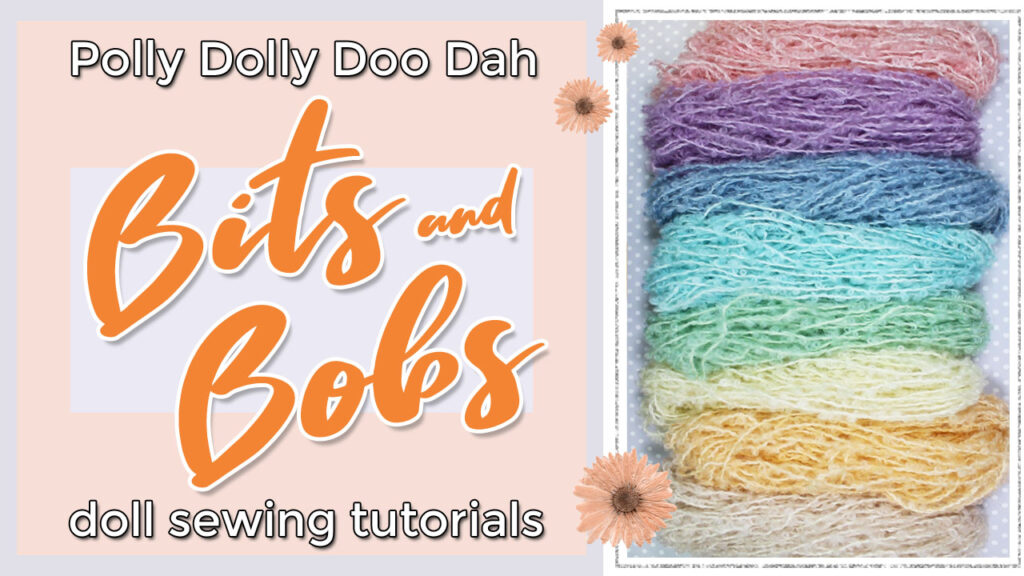
Bits ‘n’ Bobs
This section of video tutorials has some head hacks and body hacks to simplify your dolly making experience.
There is also videos on our mohair supplies and a knitting tutorial.
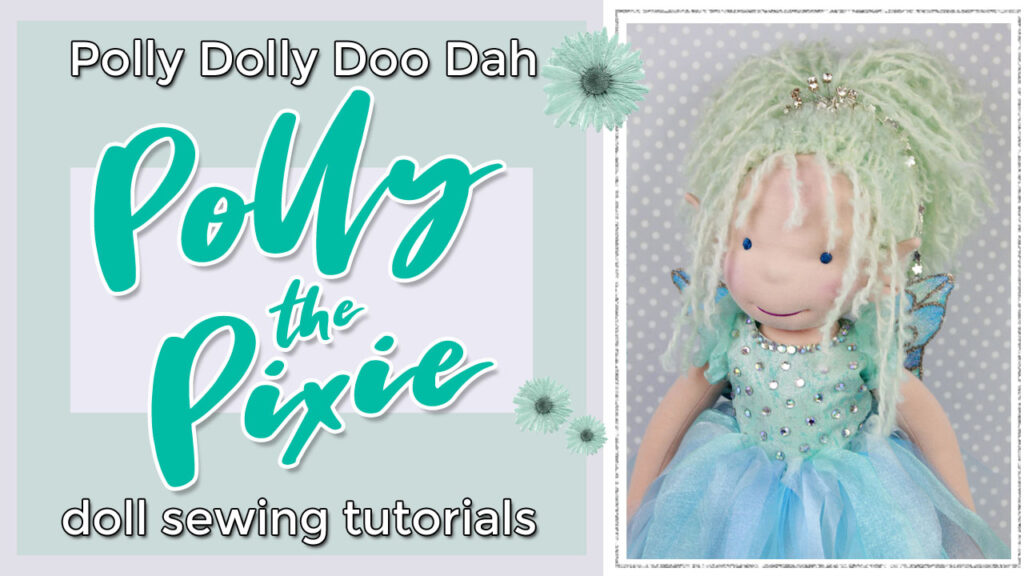
Polly the Pixie
If you fancy a change for the usual Polly Dolly Doo Dah do check out our Polly the Pixie. Watch me make her no-sew tutu dress and her sparkly glittered wings. You can also view the lovely pastel Fairytale Mohair yarn that we now have.
Sewing Street TV
This was my debut on the Sewing Street Shopping channel in August 2021.
To watch the hour that I’m on you’ll need to fast forward this video approximately one hour.
Making Polly Dolly
A quick 5 minute overview showing all the steps on how a Polly Dolly Doo Dah is made.